Showing posts with label Sewing. Show all posts

Thursday, February 17, 2011

I am a procrastinator!

What can I say? Nearly a month in between blog posts is kinda sad and pathetic. I promise I am trying!!

As promised here is my Aunts big fuzzy blanket I made (like 2 weeks ago?)


(Sorry the picture is kinda crappy)

I didn't take pictures of the process, but it was pretty simple and I think I can talk you through it.

You need:
4 fuzzy blankets (cheap as you can find, I found them at the grocery store for $5 a piece)
Washer/dryer
Sewing machine
Scissors
Measuring tape/ruler

First: Wash and dry your blankets!! Cheap material tends to shrink a lot, and not exactly uniformly.

Now take two blankets that will make up the front, and put them face to face making sure they are nearly the same size. Pin, and sew 1/4 -1/2 inch seam.

Do the same for the other side of the large blanket.

Now put your two large blankets face to face, pin all along the edge except for a 2 foot space at the bottom.

Sew all the way around, turn the blanket right side out

Sew the opening close, using a straight, small stitch as close to the edge as you can.

Now pin 1-2 inches from the edge of the blanket to make the "border" all the way around. Sew the edges to keep the blanket from folding funny.

If you wish you can quilt this to make it a little more sturdy.  These fuzzy blankets are incredibly warm, and this one is just shy of the twin size.

I promise to post again soon!!

Thanks for stopping by!

-Christina

Monday, January 17, 2011

Cute Custom Onesies Tut

Good morning everyone! Happy Martin Luther King Jr day!!

Here are a few pictures of some custom onesies I made for a close friend of mine who had her handsome little bundle of joy over the summer. His name is Weston, and I made three long sleeved 6-9 mos onesies, and three 9-12 mos onesies so he could wear some now and later on when he gets a bit bigger.

By far my most favorite!! 


His Daddy is an airtraffic controller so I thought an airplane would be just perfect!


Here is the little guy modeling his new fancy tie onesie!! Isn't he just the cutest?!


Here is another one of Weston ***NOTE***No music was playing in the headphones


So these onesies were pretty straight forward, I didn't take any pictures of the process but I think I can talk you through it!

Materials:
  • Onesies (duh)
  • Computer/printer/paper to print off pictures
  • Light weight interfacing
  • Fabric scraps
  • Iron
  • Pinking shears
  • Sewing machine
  • Matching Thread
  • 2-3 hours 

How to:
  • First find some "clip art" style pictures by googling images you are interested in, such as Tiara, Cat, Train, Car, Tie, etc.  Be sure there aren't too many skinny parts in the picture or intricate turns that may be hard to do on a standard sewing machine
  • Print pictures off, estimate if it is the right size for the onesies (this may take a couple tries)
  • Take similar size scrap of material and interface it FIRST
  • Then trace pattern, and cut with pinking shears to prevent major fraying
  • Pin on onesie, making sure it is centered
  • Sew using a medium sized straight stitch, making sure to lock your stitches.
  • You can add detail by zig-zagging (see airplane above)


To make a truly custom baby gift, make a small blanket, quilt, burp rags, or nursing cover using the same material!  Quick and easy to throw together! 

Hope you enjoyed this tutorial!!! More to come!

-Christina


Sunday, January 16, 2011

Off to work-n-work-out bag

My Mom is in better shape than I am. I will freely admit it!  She goes to boot camp, zumba, cardiokick boxing, abs classes, and personal trainer classes 2-3 times a week.....EVERY WEEK for almost 2 years now!

I give her major kudos!  So for Christmas I wanted to make her a tote she could take to work, that would hold a lunch sack, as well as work out clothes/shoes.

Here is my creation.....Vere Bradly inspired much??


 Quilted "Brown bag" lunch sack, with insulation, velcro closure, and flat bottom


 Tote bag, lined with interfacing and batting, quilted in a similar "Vera Bradly" style. One large pocket inside, magnetic closure, gusset bottom, with 30" straps. 


Mom posing with her new tote bag! She was VERY excited!


Inside View, Easily large enough for lunch sack, and water/tea with room to spare!!


Check back for Cute Custom Onesies!!

Stay Crafty!!
-Christina

Monday, September 13, 2010

Re-useable Produce bag

I hope everyone had a wonderful weekend!

Today I wanted to share with you an awesome idea is saw somewhere, at some-point, and it recently resurfaced as I was pawing through my stash to bust through this September.

**Warning pictures for this tutorial were taken in the wee morning hours concluding a bout of "creative" insomnia  (can't sleep sometimes cause I have too many crafting ideas!), so most/all of these pictures are pretty crappy, but you get the point!!**

I have a tiny collection of toole, twill, or toule or whatever the heck you call the stuff. Ya know that half fabric, half mesh, slightly stretchy, tu-tu making, impossible to sew together or fold stuff?!?! Yeah that stuff.  I think I got a yard of it at hobby lobby -in the clearance section - awhile back for maybe 25 cents....I mean COME-ON! 25 cents REALLY?! Surely I can find something to make with it....and that I did.

Why toule? because it is light weight, pretty durable, and wont add unnecessary poundage to your pound dependent fresh fruit and veggies purchases. Plus one less plastic bag in the trash, the better.

Supplies
- a sheet of computer paper (yes paper, believe me)
- 1ish yards of thin ribbon
- safety pin
- toule- less than a 1/4 of a yard with lots of left overs
- sewing machine, thread, scissors, fabric measuring tape, etc.

First cut out two rectangles -- any size you want for produce you buy (I LOVE apples so I made mine "apple" size -- take into consideration longer fruits/veggies like cucumbers).

Fold over a 1 inch casing on the top end of the toule, and pin it to the paper....

Now sew the casing using a medium/small straight stitch....or if you want to get crazy do a zig zag. 


Whats this?! The machine doesn't EAT the toule...no in fact it doesn't, thank you paper :) 


Now carefully tear the paper away using the "perforation" your needle gave it. 

Repeat the casing on your other rectangle, using this fun paper trick.

Then sew up the sides and bottoms of your rectangles, face to face (using your paper) -- be sure not to sew over your casing and close it up!! 

Now flip your "bag" right side out, and grab your ribbon and a safety pin.. 


Starting at one corner thread it all the way through back to the starting point making a drawstring- knot the ends together. Repeat for the other side. 

You're done!


I plan on making many more of these! 

I was even thinking, I could get really nerdy and color code the bags so I remember which produce to buy....green = cucumbers, red = apples, brown = potatoes, white = onions/garlic, pink= tomatoes, oh the possibilities!!

The cashiers here at my HEB already think I'm crazy by bringing 3-4 GIANT nylon shopping bags (from Target, $1 a piece and the fold up into a tiny carrying case!) with me every Sunday. I'll just add a little more crazy to the list when they see all my produce in toule drawstring bags!

I hope you have a fantastically crafty day, 
Now go bust some toule stash! 


Monday, September 6, 2010

Glasses case up-cycle

So my Mom has this horribly ugly eye glass case for her prescription sunglasses....


I mean I guess it's okay--ugly enough to find in the bottom of your purse at least...
(get it "guess" haha I crack myself up)


So here is what you need: Hot glue gun, knife, and fabric. 

Sunday, September 5, 2010

V-neck redo

I have a few shirts that I bought from old navy awhile back, but they are very "deep" v-necks and very inappropriate unless I wear a tank underneath it (which in this South Texas heat is unbearable!)

Here is the finished product....I didn't take pictures of the process, but I'll give you the run-down. 


Saturday, September 4, 2010

Urban Re-do

Here is a shirt I bought from Urban outfitters a few weeks ago. I like it because it was $10, AND it had some major potential.
Minor flaws: too big and kinda plain.

Cute right? but kinda plain like I said....


Made a few rosettes with left over fabric from a polo re-do

Friday, September 3, 2010

Final Product!!

Today is awesome because:
- It is FRIDAY!
- Rocked my ICS exam this morning!
- First day of 3 day weekend, Thank you Labor Day!
- My Parents are driving in to spend the weekend with me!
- South Texas is "supposed" to get a "cool front" (so maybe 90 instead of 110?)
- Finished my 2nd Custom order!! WHOOP!

So I wanted to share with you the completed custom order that I alluded to a few days ago here. I have to admit, I agreed to doing this project, with no earthly idea how it was going to come together, I basically "flew by the seat of my pants" if you will.....


Any ideas yet? 
yoga mat? Giant knitting needle holder? 


Still stumped? 

Monday, August 30, 2010

Polo Re-do 2

Hey guys!!

I survived my Pharmacology exam with an A!! Whoop!  Anyways, I treated myself to an evening of crafting after the exam and this is what I came up with!
First start with a polo and cut it up

I cut the cuffed sleeves off, to make a ruffled sleeve instead (really easy to do, no worries!)

Thursday, August 19, 2010

Custom Purse

I was going to wait to post this in the morning but I just couldn't wait!! I'm so excited about how this purse came out!!

I've been pretty busy here lately between classes picking up and a few custom orders for friends.
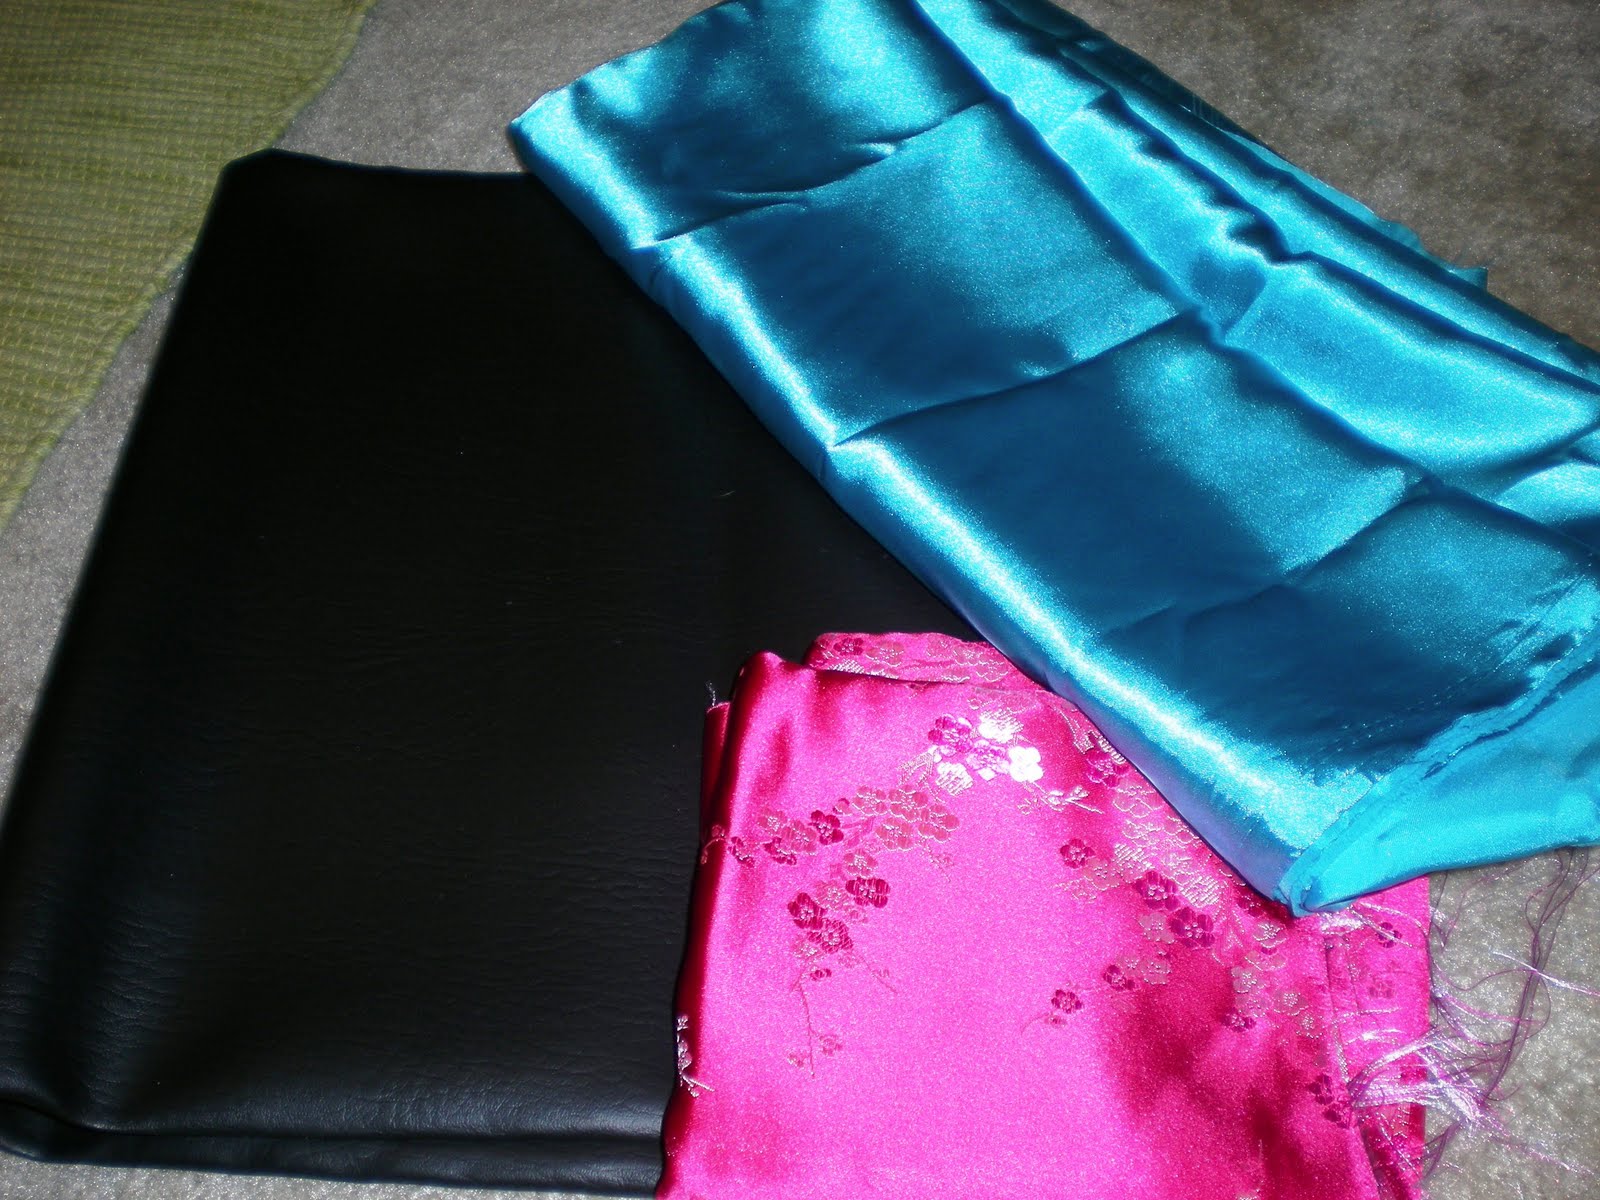
I just finished this purse for my friend, she plans on giving it to her mom for Christmas! She was telling me what her mom liked, fuschia and teal, oriental/Asian style, large purses, with good sturdy straps.

Just so happened that I acquired some fuschia pink oriental satin (from my grandma, like 5 years ago) that has some tiny cherry blossom trees/branches on it! Instant inspiration, its like I was meant to make her mom this purse!


Fun Stuff!

My crafting "area" if you will- is quite limited. A little while ago I saw this awesome idea from a fellow blogger (can't remember who...oops!) about taking foam board cutting it into rectangles and using it as tiny bolts, thus easily displaying fabric without forgetting what you have because it is folded up in a drawer, bin, or box some where.

I'm kinda ghetto in the sense that I "made" the second saggy shelf out of a card board box, duct tape, and some white paper. One day I'll find an actual white laminate board to fit there, but for now it works great to hold buttons, ribbon, beads, and hem tape!

Also those fabric boxes on the bottom I made here if you are interested in learning yourself!


I'm also very excited about this vintage sewing notions set I just bought from Etsy at Simply Suzula for $7.00 including shipping!! Couldn't even get all this stuff at Hobby lobby for $7 if I tried. Plus they just don't make hem tape(lace) in these fun colors anymore!!

Wednesday, August 18, 2010

Polo re-do

I have a few polo's (3 to be exact) that I bought from Old Navy, a while ago because they were cute, cheap, and seemed comfortable in the fitting room. So after a run through the wash, I throw one on and head to class....about 15 min after I get in the car my neck starts itching like crazy, and I'm convinced I was assaulted by some 6 legged creature with beady eyes....NOPE! Turns out the "ribbon" they used to cover up the inside seam from the shirt to the collar was the assaulting agent...thus never wore the shirts again.

I've redesigned a few t-shirts now, and I consider myself a semi-good t-shirt reconstructionist (yes it is a word now), here ya go, polo re-do tutorial!

Supplies:

  • Polo shirt
  • Scissors, seam ripper
  • Sewing machine, matching thread
  • A few buttons
  • Knit scraps 
  • Fabric "disappearing ink" marker
  • Ruler

First take your Polo shirt and cut the collar and button on the front out, might as well pull out the "tag" too if you can (mine was also crazy itchy)

As most of you know, cats are drawn to new things on the floor and most definitely get in the way right as you take a picture!

Thursday, August 12, 2010

Anthropologie Inspired


I love this tank from Anthropologie....but it is $58.00 which is definitely not in my grad student budget, and its "hand wash only" which I just don't do....so I'll just make my own! HA take that Anthropologie!

Picture borrowed from here
So I had planned for the T-shirt to come out similar to this....but I didn't have large enough scraps of fabric so I ended up having a similar version - but with smaller ruffles

Here is the finished product:


Tuesday, August 10, 2010

T-Shirt Quilt

I started this T-shirt quilt about a year and a half ago, by cutting up all my old high school T-shirts into 14" blocks.....then I didn't know what to do next and they sat in a storage bin. After some coaxing from some fellow crafty and quilty (yes its a word now) ladies, I hunkered down and got it all done in about 3 days, with many breaks in between.

I didn't know I was going to write a semi-tutorial on this...so bare with me, the pictures aren't all here, but I'll try my best to explain things as I go. This makes a T-shirt quilt that is about the size of a twin bed.

First up, Supplies:

  • 24 T-shirts, too precious to throw away, yet taking up space in the closet
  • 9 yards of 20" light/medium weight fuse-able interfacing with left overs
  • 2 yards of 90" batting, mine is natural cotton (with left overs)
  • 2.5 yards of 60" jersey knit material
  • 1 yard of cotton blend material for the border
  • 6 yards of 1 inch double fold bias tape (with left overs)
  • Sewing machine
  • Scissors (this would be a fantastic time to invest in a rotary cutter, ruler, and mat. Believe me your hand will thank you)
  • Matching thread (or at least best you can, I primarily used white or grey thread).
  • Cereal box to make 12.5" square template
  • Ruler
  • Fabric marker

Sunday, August 8, 2010

Bandanna Skirt

Hope everyone is having a fantastically crafty day.

I have an upcoming "Western Party" to introduce the new class of PA students in about a week. Of course I need to make a new skirt to wear with my old boots. Hobby Lobby has bandannas for 99 cents a piece. So I picked up three red ones, and some elastic for about $4


In the past I have made a "wedge" skirt out of a pillow case and some elastic. It turned out great and I wanted to make one out of bandannas.


Thursday, August 5, 2010

Full Circle Skirt

Hello!! Hope your Thursday has been great!

I've been super busy with my Pharmacology exam Wednesday morning...and then I'm working on a surprise, I'll keep you posted about it : )


Today, I'm going to share a great tutorial for a full circle skirt. I altered it a bit by adding a 3 inch waste with elastic instead of the tie.

I also added a liner because my sheet was a bit see through. I got the twin sheet on sale at Target for $5.00, the elastic was from an old pair of lounge shorts that had seen better days...and the liner was another white flat sheet I got from Walmart a few years back while making curtains.

All in all total cost was just over $5.00!! Pretty awesome!

Here is the link to the tutorial!


The skirt hasn't been ironed in this picture....so its a little wrinkly!

I actually made this same style of skirt for a great friend, it turned out super cute as well!

I hope you enjoy the rest of the day!

-Christina

Wednesday, July 28, 2010

The fabric box

Good evening!
My pharmacology test went well, in case you were wondering. I had planned to get this tutorial posted around 3pm, however it actually rained here in desert-like South Texas and the power was down for several hours. Which means no iron, sewing machine, computer, or internet. I ended up passing the time, cutting fabric for future projects. During my silent solitude of fabric cutting I started thinking how we as a culture have become so dependent on electricity. It almost made me want to get a foot pedal sewing machine--then it's like a work out and sewing all in one! That is an entirely different topic however....

Anyways back to the tutorial. A few days ago I put together the first tote depicted in the "sneek peek" post and I liked the out come, but the whole thing was kinda floppy looking. So I decided to install cardboard sides/bottom in the next one to see if that helped stiffen it up and if it was actually do-able.


The one on the left has cardboard, and the one on the right has just one layer of interfacing.

Cardboard is very unforgiving and I had quite a hard time lining everything up perfectly--If I ever make anymore, I'll just interface the outside and liner of the box. this should be plenty stiff to hold fabric, yarn and other various semi-light weight projects.

So here are the supplies:
- 1/2 yard of fabric for the outside
- 1/2 yard of fabric for the liner
- a little over 2 yards of 20 inch heavy fuse-able interfacing (if you want to interface liner & outside
- bias tape or materials to make double bias tape (1/2 inch or an inch, its your preference)
- approximately 3 cereal boxes, duct tape (optional)
- sewing machine, matching thread, scissors, ruler, fabric marker, bias tape maker, pins


Sunday, July 25, 2010

20-Min Tunic

As some of you know, there is only one store here that sells fabric off the bolt in my town....with a very very limited selection. So I'm always looking for other ways to obtain fabric, through XL T-shirts, twin flat sheets, pillow cases, cloth shower curtains, table cloths, cloth napkins, etc.

So as I was strolling around HEB plus this afternoon I came across this


TWO pillow cases for a DOLLAR...yes that is $1.00-  just under 2 yards of fabric if you rip all the seams and lay them out flat. 

The first time I saw these, they had orange and white ones, but I was a little hesitant because I wasn't sure about how the fabric would actually hold up--so I just bought the orange ones, made a tunic and was so excited I forgot to take pictures for this tutorial! So I just HAD to go back and get the blue and green ones so you guys could learn this awesome and nifty skill. 

Here is how to turn a pillow case into a tunic in about twenty minutes:


Saturday, July 24, 2010

Interfacing, Zippers, and Gussets OH MY!


The three words to make any seamstress cringe. I myself used to cringe at these words…but after a making a few of these handy dandy zipper bags I have conquered my fear!

This is a long tutorial beware!!

How many of you have a T-shirt in your closet that you haven’t worn in 6+ months because it is too short, tight, small, or has a stain on it?!?!? Well I have about a half a dozen of these taking up valuable space and hangers.

My solution: refashion them into useful items. Today’s Post is how to make a zipper bag (make up bag size) out of a T-shirt.

Supplies:
-One T-shirt you no longer wear
-A bit of coordinating fabric for the liner (1/4 yard with lots of leftovers)
-7” closed coil zipper
-Light weight fuse-able interfacing (1 yard, with left overs)
-Iron
-Sewing machine, matching thread, seam ripper, zipper foot, fabric scissors, straight pins
-Surger (completely optional)
-Ruler and pen/pencil/fabric marker
-Wax paper (to make your pattern)

How many of you ladies out there have make up bags that look like this???

stuffed full, zipper wont close, and that darn brush just doesn't fit!!

How about making an T-shirt into this:

Related Posts with Thumbnails