Removable Slip Cover
Total cost: $8.00
 Before
 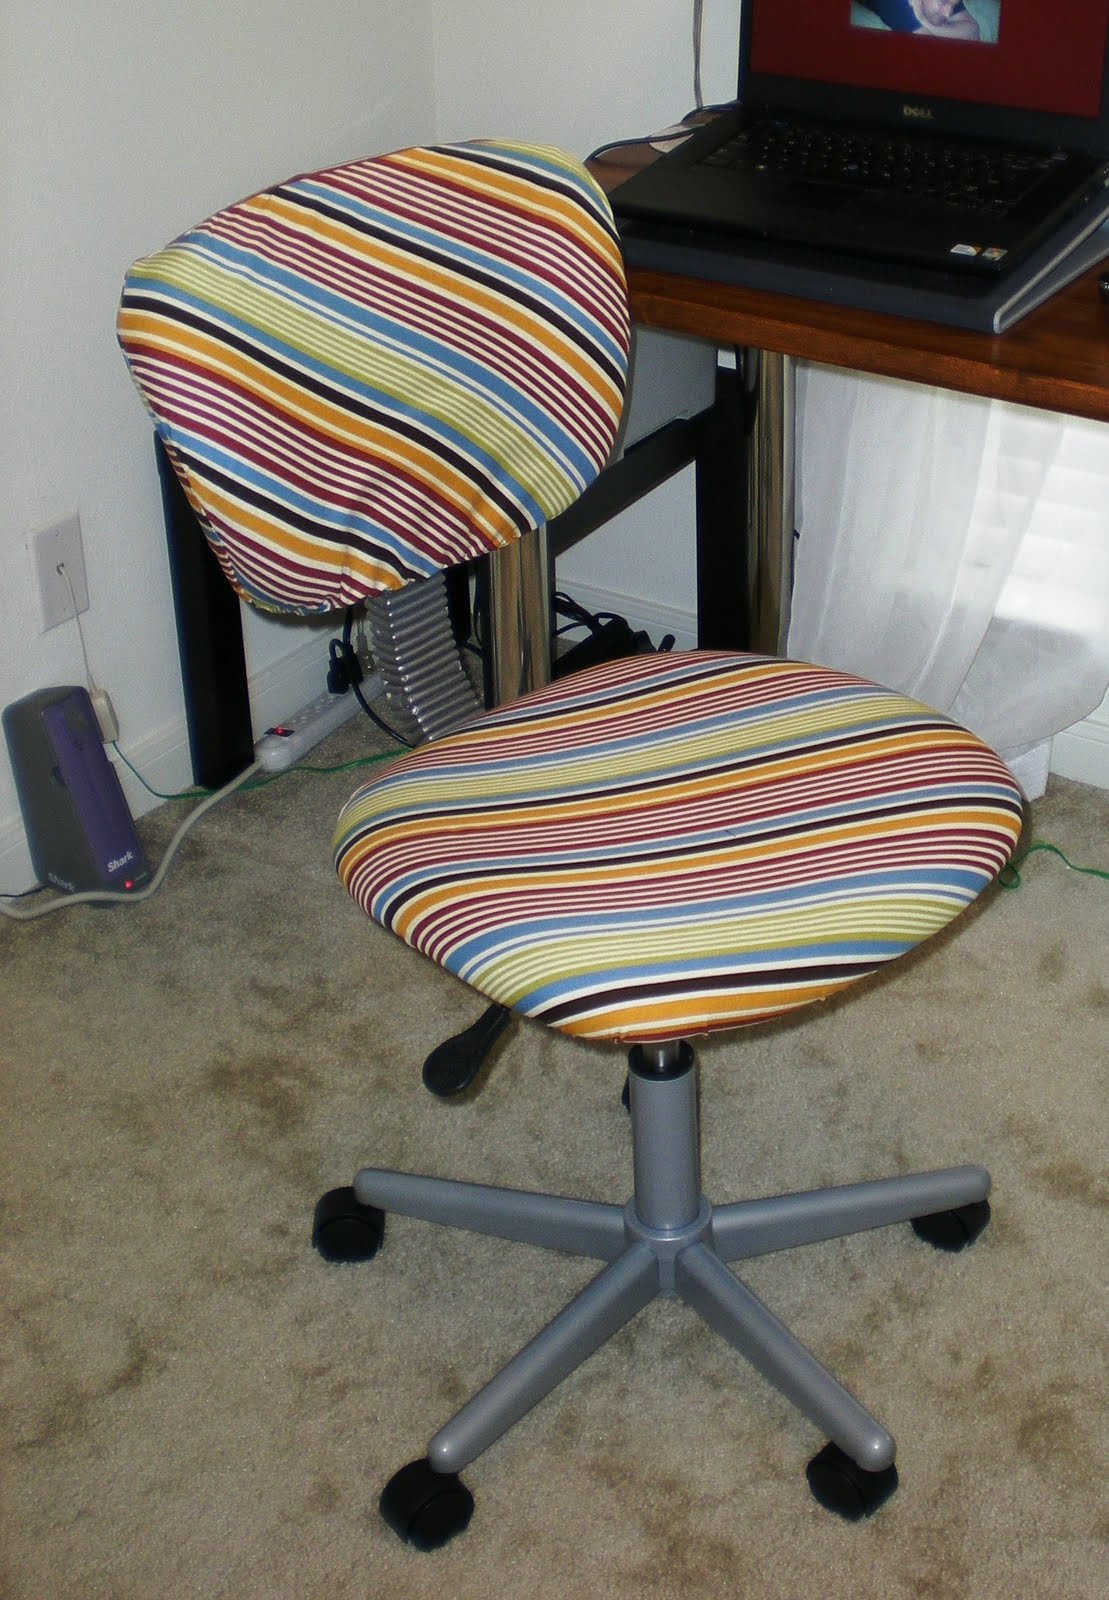 After
AfterThis was actually quite easy, I've been wanting to do this for awhile, I just didn't have the nerve to staple fabric onto my current chair....so I made them removable (and washable!! Great for kids rooms/pet owners!)
Supplies:
- About a yard of 45" material, preferably cotten blend, with limited stretch/no stretch, that will be durable with daily use. (you may need more for a larger chair!)
- 2 yards of 1/2 inch elastic
- Sewing maching, thread, scissors, pins, fabric marker/chalk
- Paper, marker, tape
First grab some paper and tape it to a table. Flip your chair upside down and put the seat of it on top of your paper, trace all around it.
Lay it out on to your fabric and add about 4" all the way around to account for seam allowance and a casing for some elastic.

Next surge or zig zag all the way around, then make a 1 - 1/2 inch casing for your elastic

Next thread your elastic using a safety pin.

Now try the slip cover on and adjust the elastic so it is tight enough to hold the fabric on snug - yet loose enough you can get it off....
Now sew the heck out of the elastic ends

Half way done!


Now for the back rest. Again make a pattern like you did for the seat, you may need an extra pair of hands for this. Tape some paper to a table, and put the back rest on the paper and trace around it.

Cut out two pieces with about 2 inches extra all the way around, and 3-4 inches extra at the bottom (for the elastic casing)
Now "drape" and pin the fabric to the back rest around the top and sides. Make sure you can tug the fabric off the top with only a small amount of resistance (we want snug yet removable!)

Trim excess fabric, then with a large straight stitch sew around the sides and top of your slip cover (in the event it's too tight, easier to rip out, believe me I know from experience!)
Once you are happy with the fit reinforce the seam with a zig-zag.

Next make a 1 - 1/2 casing around the bottom like so:

I used a little fray-check on the ends where the two pieces of fabric met (although it would be nice to have it zig-zag prior to making the casing- which I didn't do!)
Insert your elastic, and try on the slip cover, again making sure you can pull it off the top without too much resistance, yet stretchy enough at the bottom to hold some tension on the fabric. Then again sew the elastic ends together. And you're done!
Total cost about $2.00 (elastic I had on hand, but I'm pretty sure it was about 2 bucks), $6.00 1 yard of fabric (gift from Mom so FREE!).
So really only about $2.00! Whoo hoo!
I'm also contemplating getting some extra foam and putting it under the slipcover for a little more cushion..but that will have to wait until October with the craft purchasing fast of Stashbusting September is over!
On a totally different topic-yet relevant for today. Do you remember 9/11/01?
Remember that feeling of vulnerability you had when you first heard that the twin towers fell? The fear, panic, and uncertainty? I was in Health class at my High School my Sophomore year. I remember thinking how could something like this happen?!? My generation had grown up not knowing anything about war--but 9/11/01 that changed forever. Many of my High school classmates entered the military shortly after graduating, and my Fiancé, Nick, was in the Air Force stationed in Japan on 9/11/01. It took the world by surprise. So I'm asking you to pray, meditate, or whatever you practice, and remember that day, pray for the families that were affected by not only 9/11/01 but the those who have lost family and friends in the War on Terrorism.
-Christina
Wow, chair looks great! I never would have thought of recovering an office chair! Great job!
ReplyDeleteI am doing this!
ReplyDelete